
From Sparkly Leaves to Molten Metal
6 min read
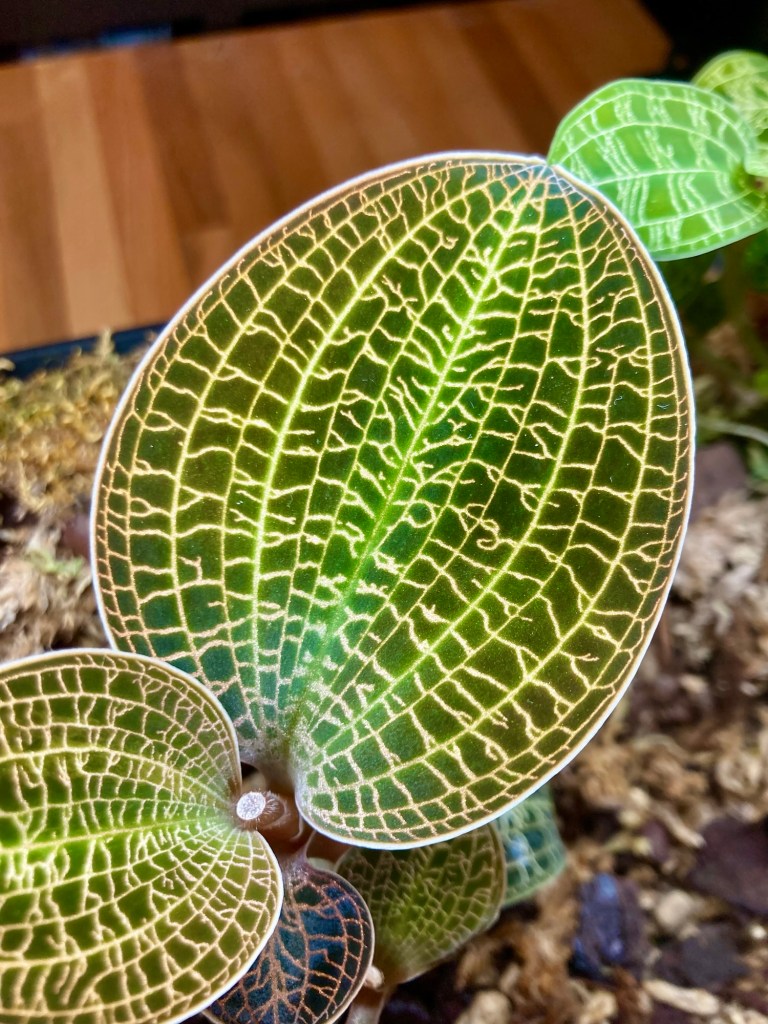
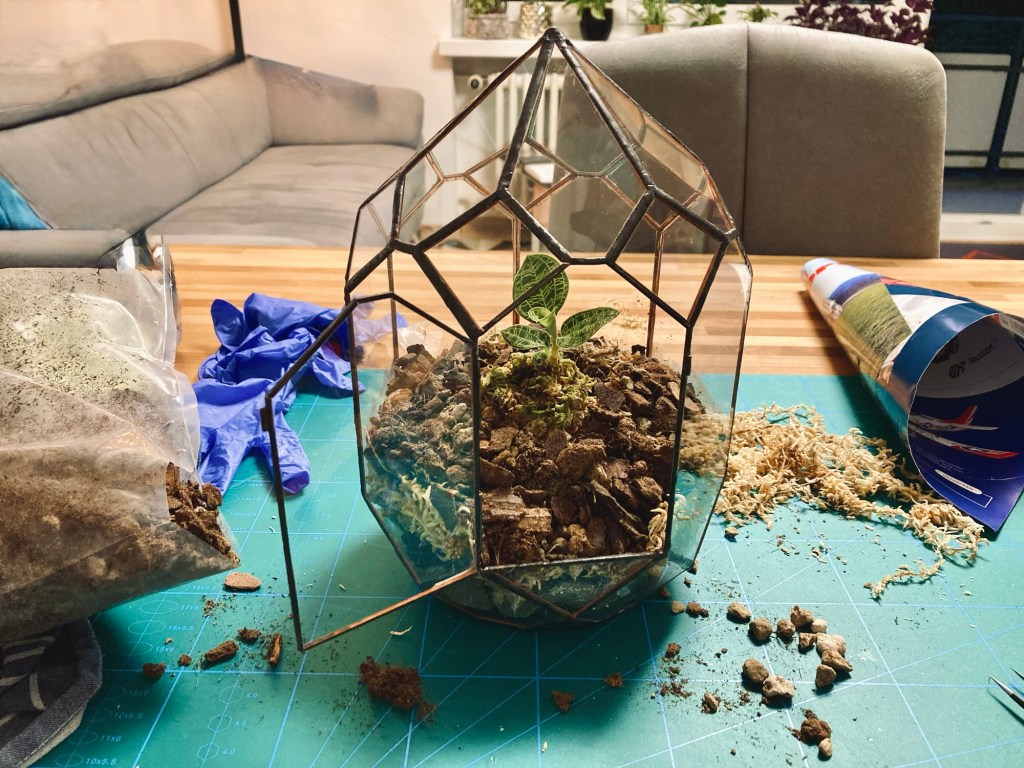
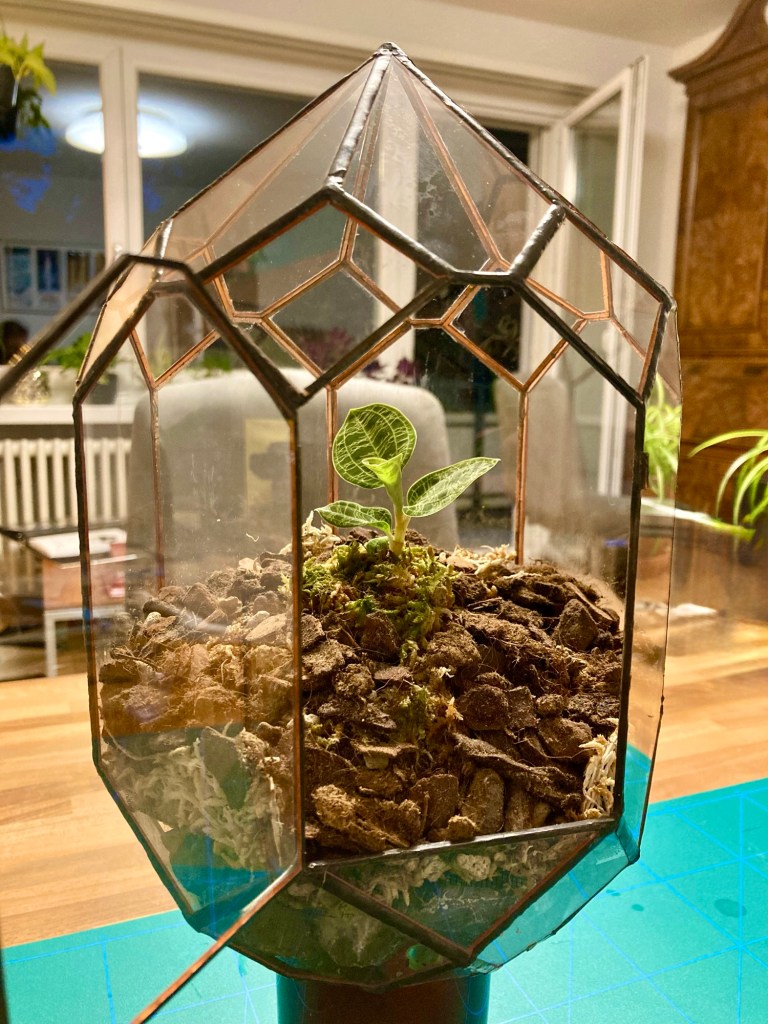
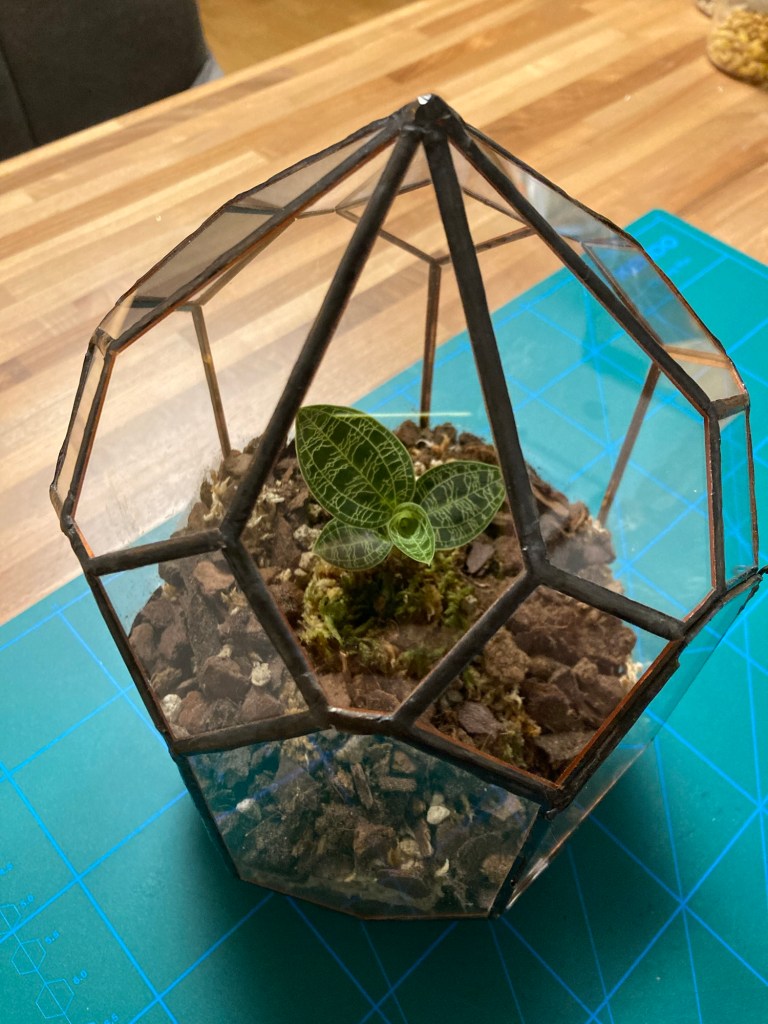
Jewel Orchids! You may not have heard about them. I hadn’t either. When I did, I was mesmerized by the patterns, the colors and the varieties. Most of all though the sparkle in their velvety leaves. This is hard to capture on camera, but these unique structures sparkle as the direction of light changes.
With their discovery, the collection fever kicked in. I had to have them all. I researched the varieties and tried to get them through garden centers, online shops and even through a connection from Germany (the store wouldn‘t ship to Switzerland). My apartment started to fill with those fragile beauties and I wanted to keep them in a nice and fitting pot instead of having them out in the open.
From the depths of my memory I pulled a vague idea that seemed to fit this project. I checked on google to first get the right name, then onto images. “Wardian case” will show you what I was thinking of.
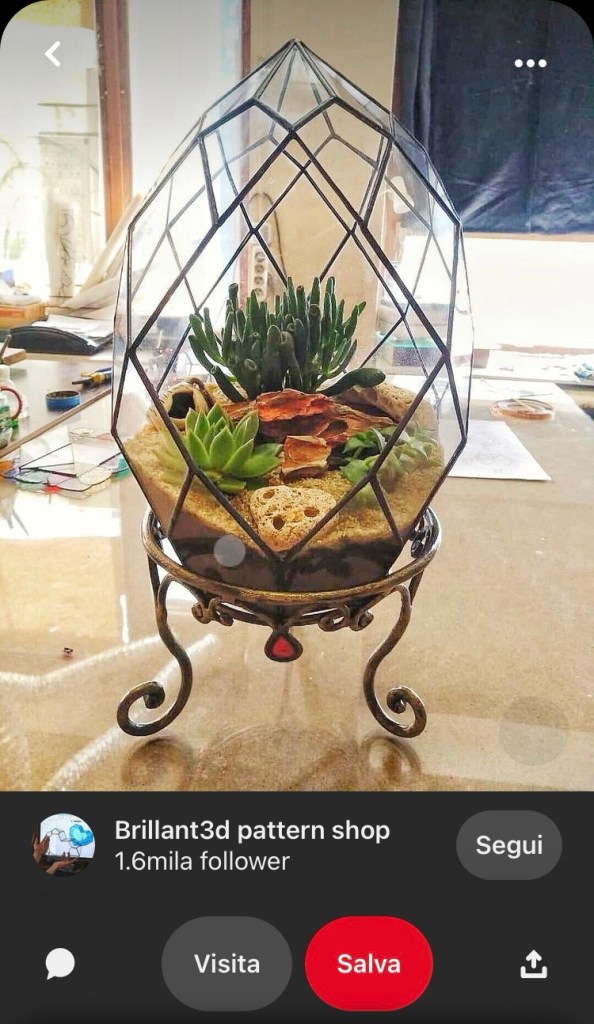
I especially liked the shape in the image below, with its dome and curved top. With that inspiration, I dove into the project.

Goal
As much as I would have liked to recreate the Wardian case above, I thought the best approach is small steps. Looking at the curved top and domed centerpiece, I knew I lacked both the tools and the motivation to make them — and didn’t have the budget to buy them either.
Thus, the goal was to make a case for the jewel orchids with flat pieces of glass. A „Geometric terrarium“ meets that criterion – a Wardian case in the broader sense.
Materials & Tools
Materials
- Glass – I chose 1.5 mm panes from the hardware store
- Putty – a great way to pick up small shards of glass
- Copper tape – to cover the edges of the glass pieces
- Solder – to join the glass pieces
- Flux – helps with soldering
- Patina – to change the appearance of the solder, comes in different colors
Tools
- Pattern – the template for cutting the glass pieces
- Glass cutting tool – for obvious reasons
- Burnishing tool – to press down the copper tape
- Scissors
- Pliers – to break off glass pieces and chips
- Soldering iron
- Marker – for marking cuts
- Diamond whetstone or sanding block – to straighten cuts or dull sharp edges

Process
It is quite straightforward:
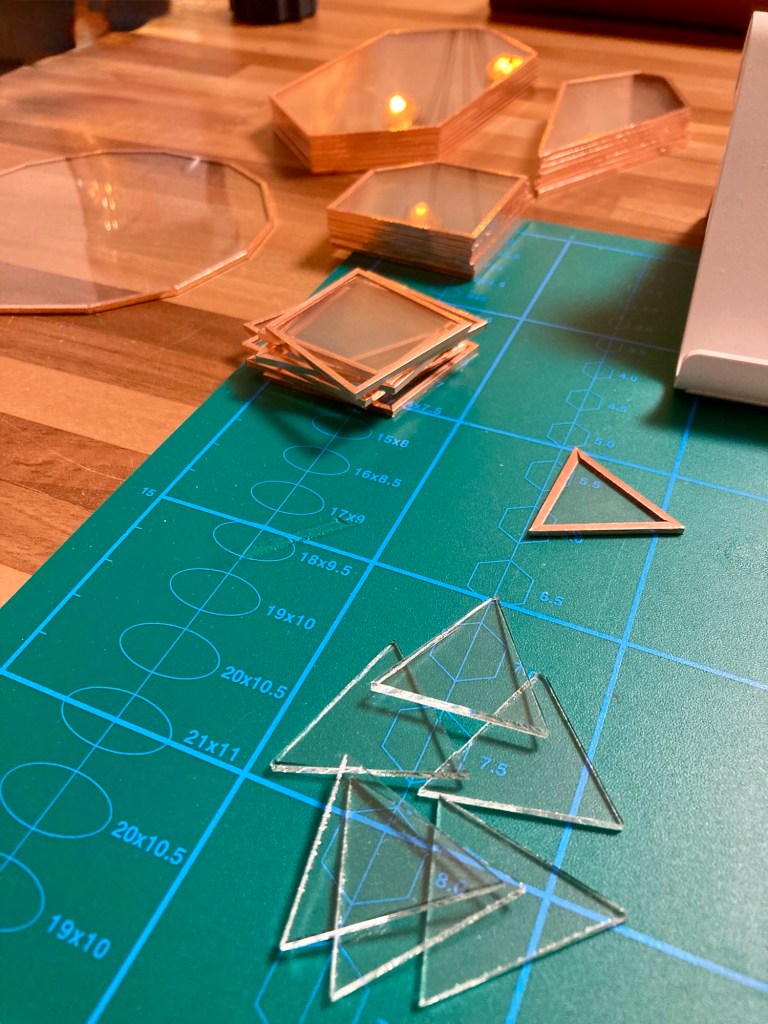
- Take the pattern, mark the cuts on the glass
- Cut glass
- Tape edges with copper tape
- Solder
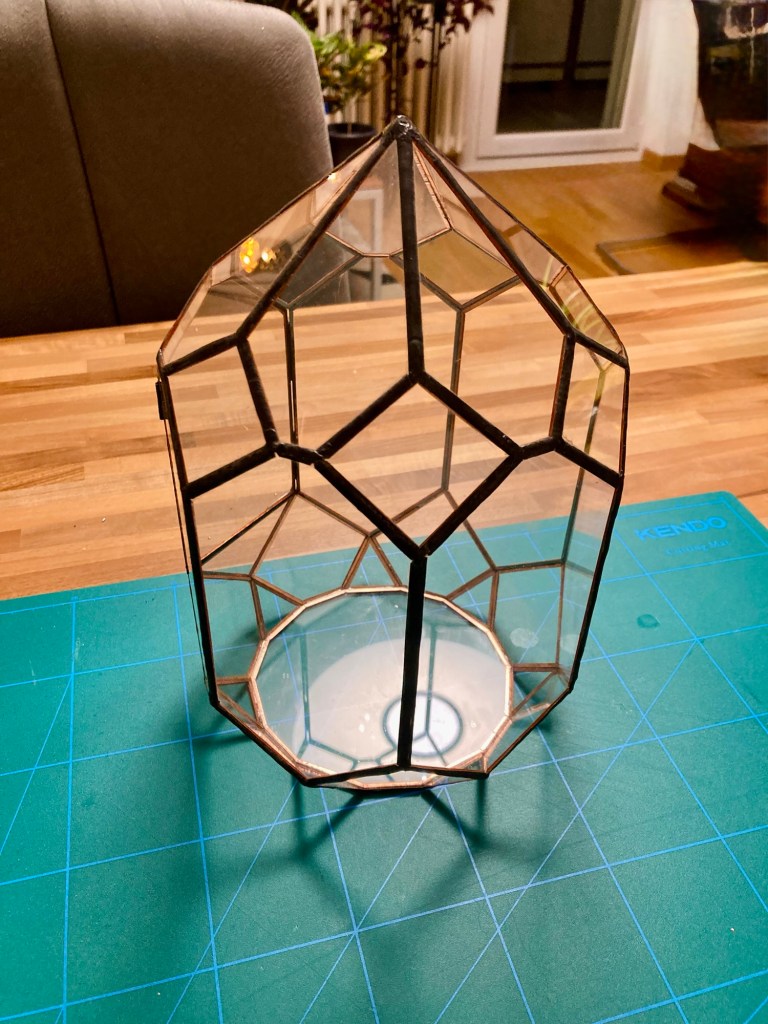
- Apply patina
- Bob‘s your uncle.
Looks easy on paper, is as well in real life. Okay, let’s say maybe after the first one:)
The first couple of cuts showed very quickly the need for another approach: Even with a steel ruler, achieving straight lines with the hand scorer proved to be difficult. Any deviation from a straight line must later be SANDED (I HATE SANDING!!!). Gaps make soldering difficult and result in unappealing, irregular joints. What‘s more, it takes a long time. The more and the smaller the pieces, the more fiddly it gets with the hand tool. I knew I had stumbled upon a side quest already.
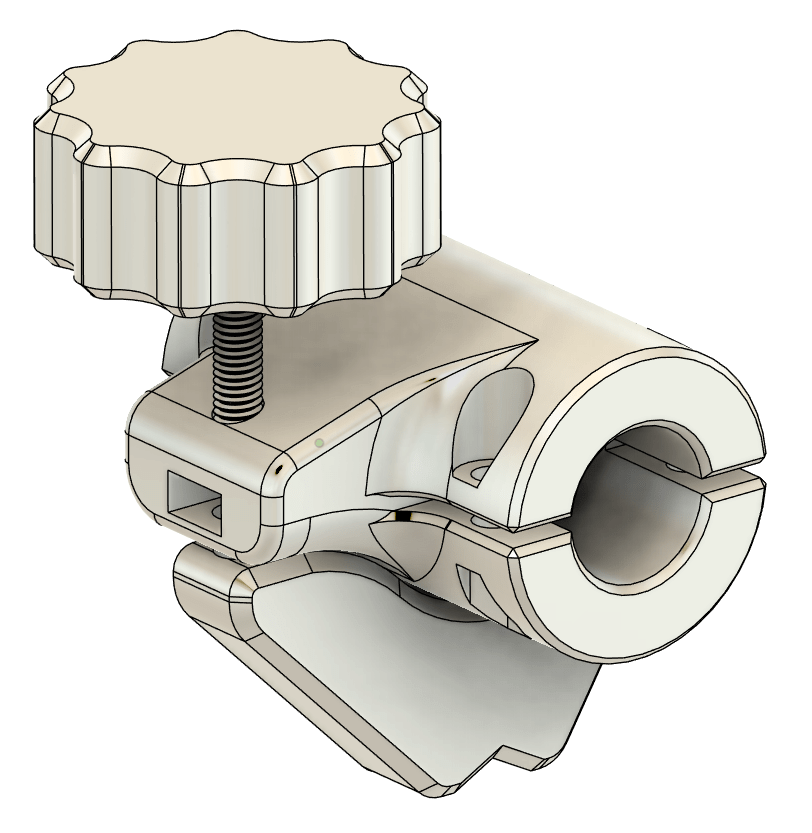
There had to be a better way and I was going to find it. Luckily after decades of accumulating sh…shtuff I am sometimes in the fortunate position to already have parts for a project. A board and two linear rails were left over from an old machine. Perfect for what I had in mind. The only part I had to buy was a glass cutting insert. My good friend Ali saw my need and kindly sent it to me.
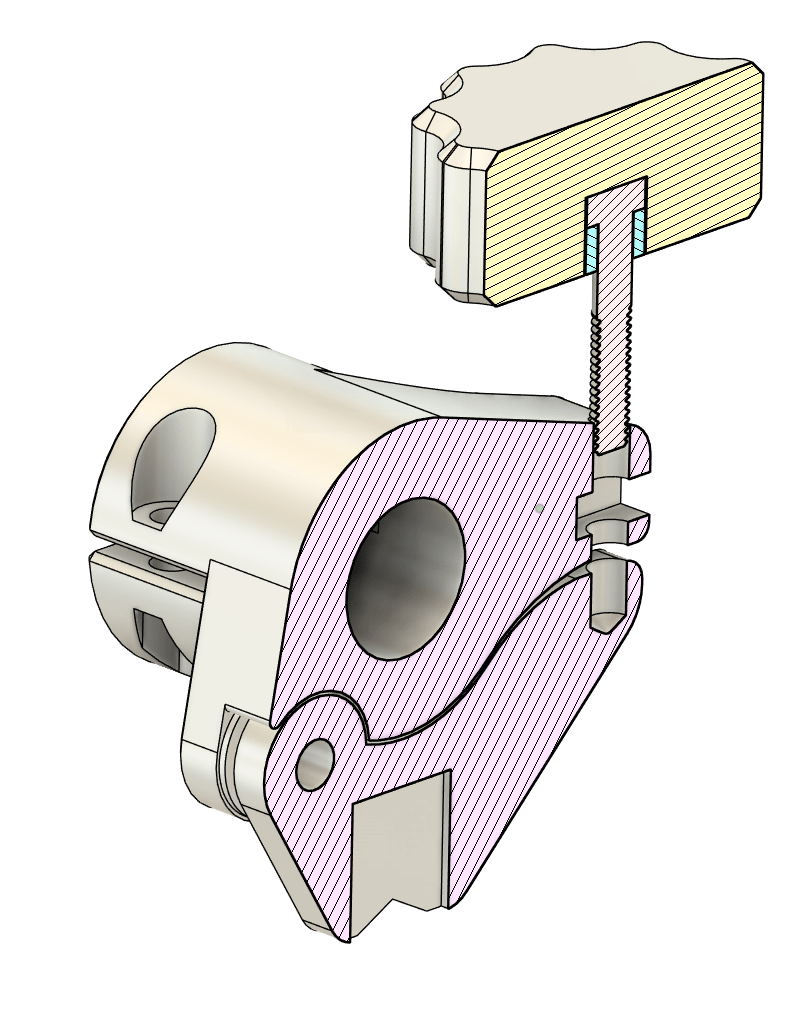
I incorporated an adjustment screw on the cutter head for fine-tuning of cutting pressure.
It was a quick side project but it boosted the glass cutting tremendously. Straight, accurate and consistent cuts were now a breeze. The time savings were huge.


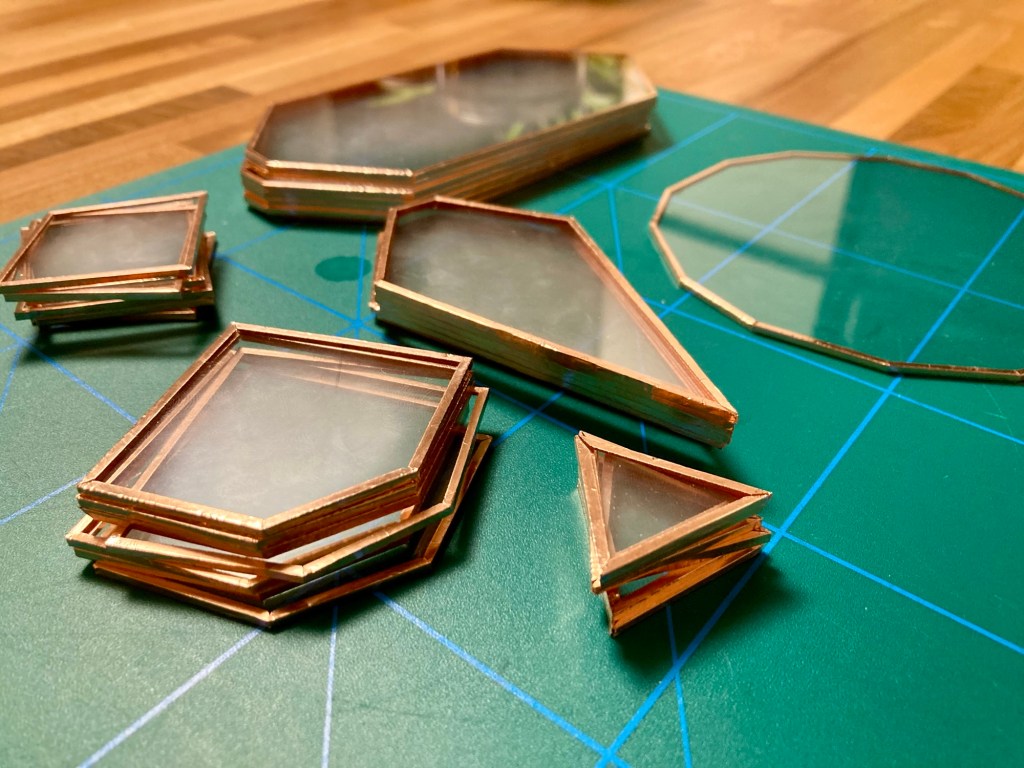
Even though the glass cutting contraption made for much straighter and cleaner cuts, I cleaned up every piece by hand with a diamond sanding block (did I mention I hate sanding yet?).
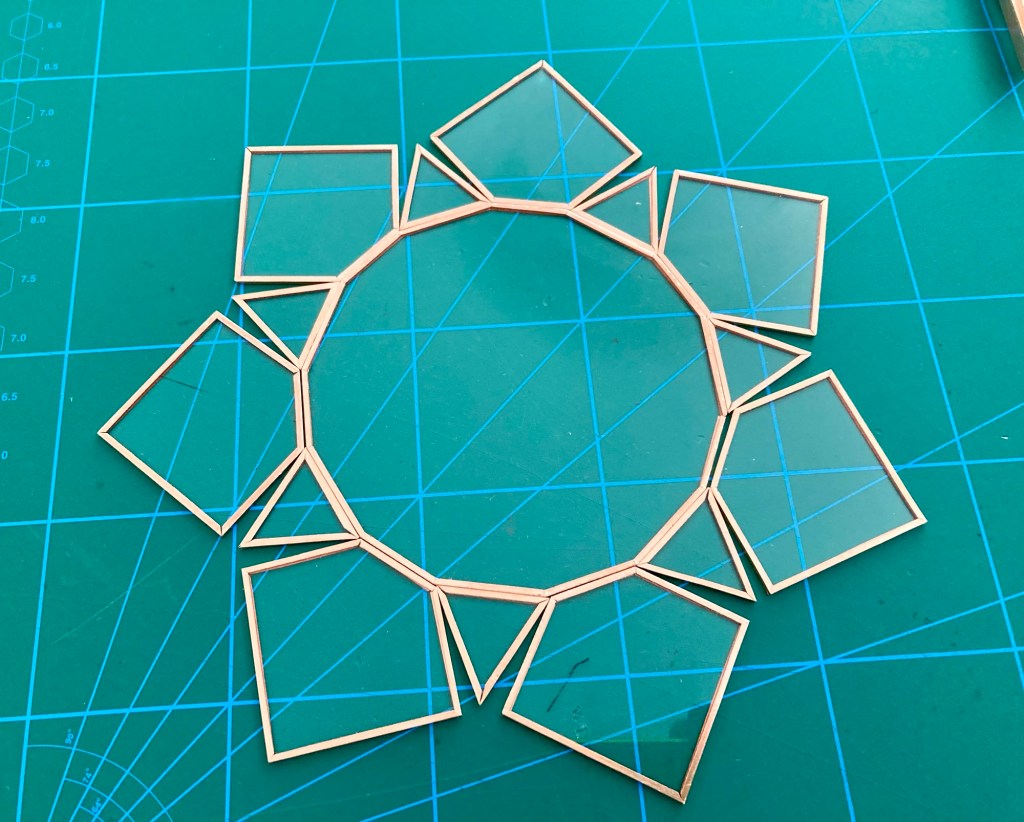
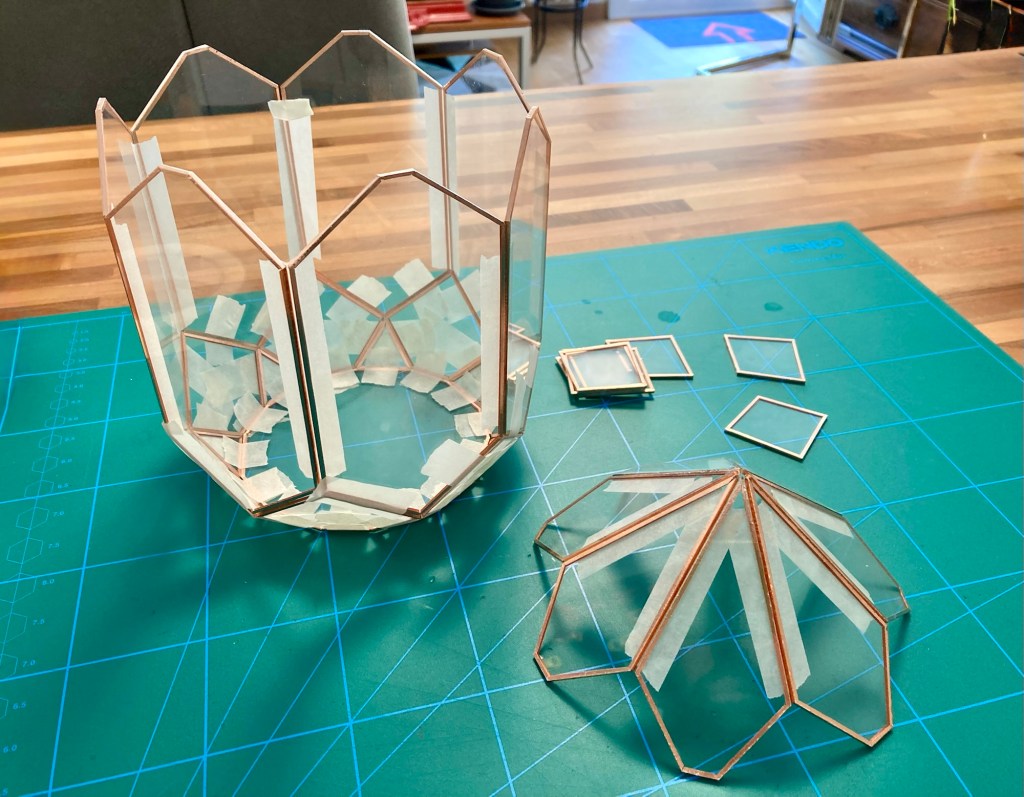
The next step is the application of copper tape on all edges. The balance here is to have enough material for the solder seam to stick to, but not so much that they become too wide and visually dominant. To make the tape stick well to the glass, I used a burnishing tool.
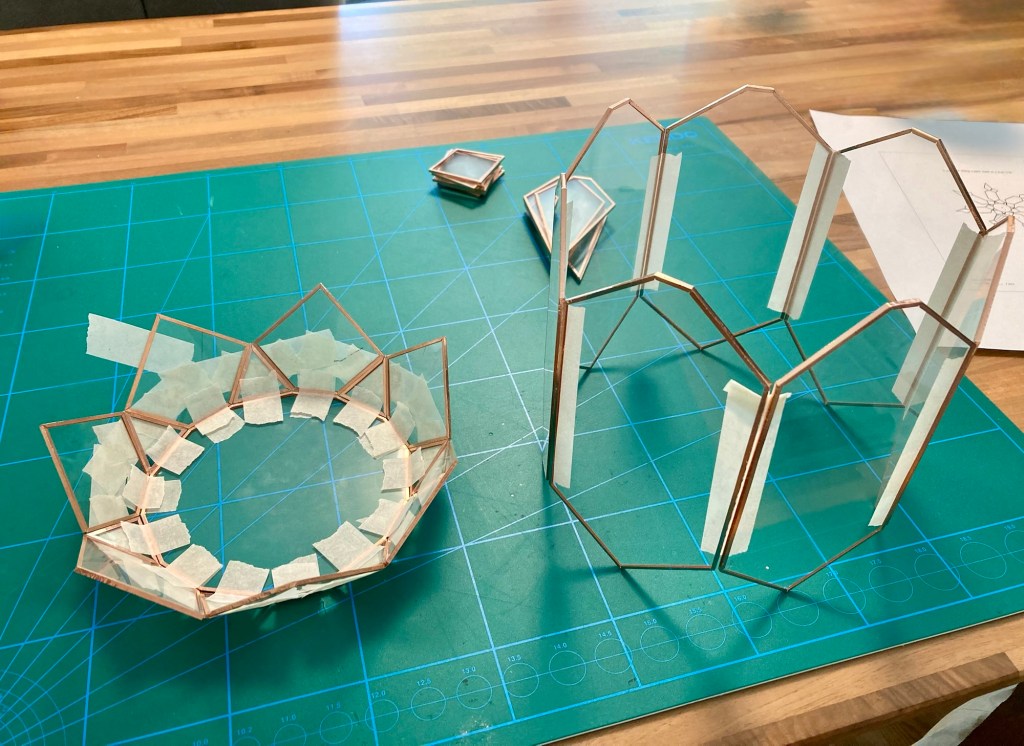
For soldering the pieces are held in place with masking tape. This technique works really well: it keeps things in place well enough for soldering but comes off easily afterward.
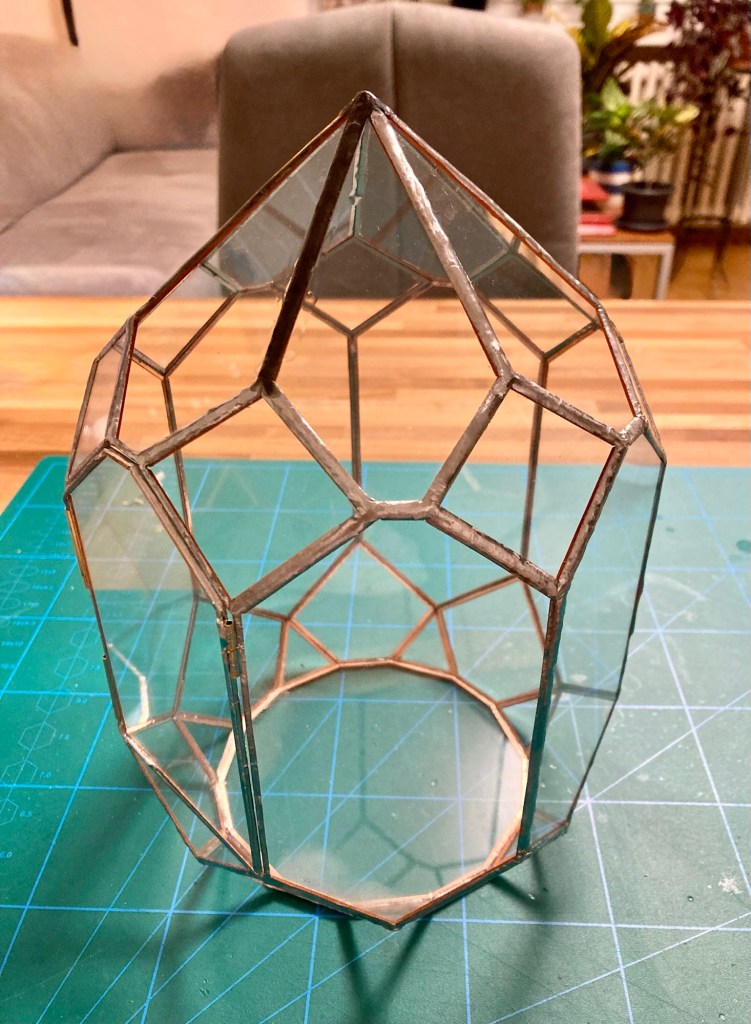
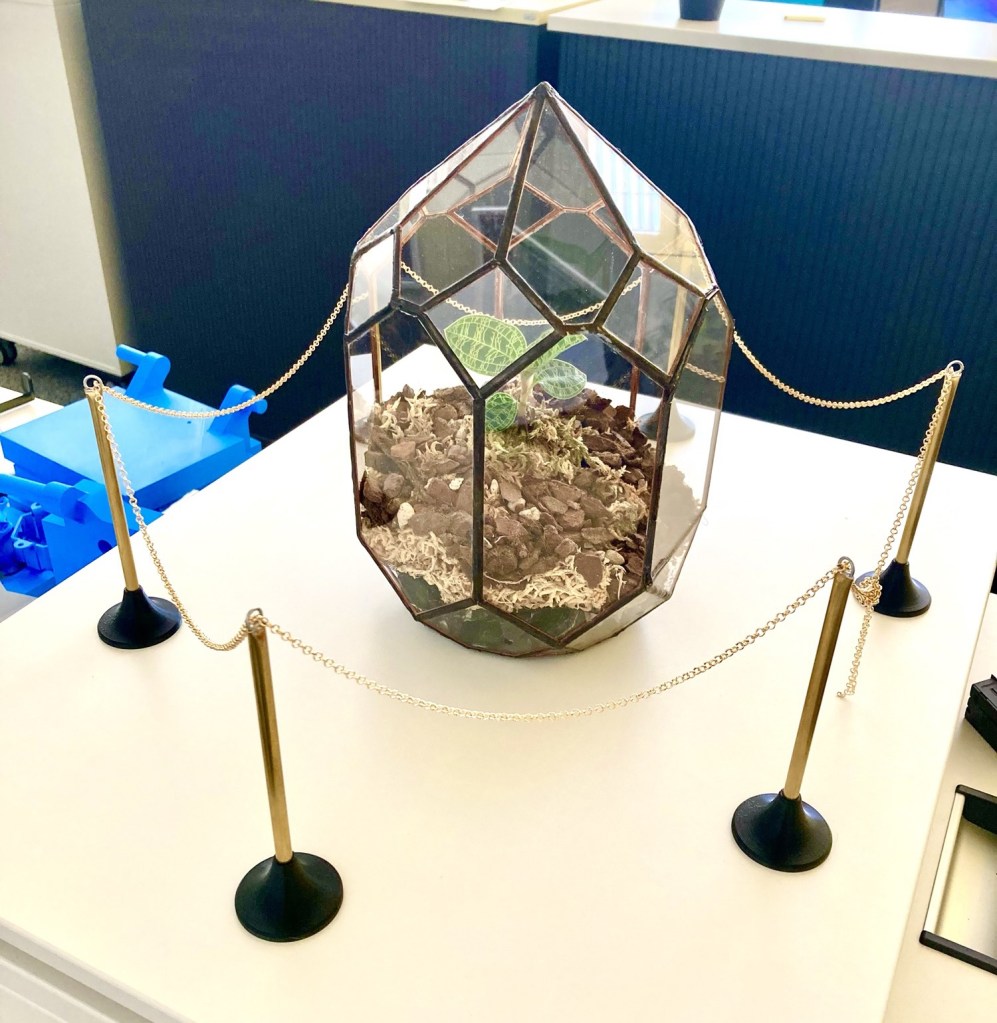
I enjoyed the whole thing so much that I kept making one after the other. Soon I ran out of space at home and thought I would make one for the office. This way I could enjoy the jewel orchids all day, at the office and at home.

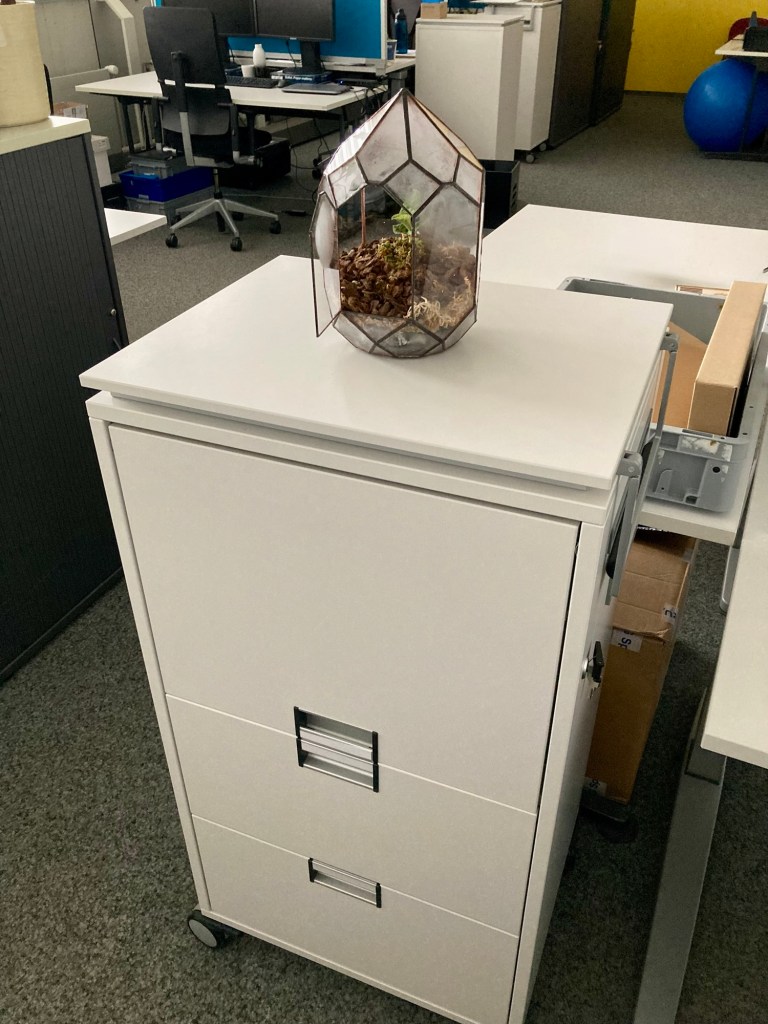
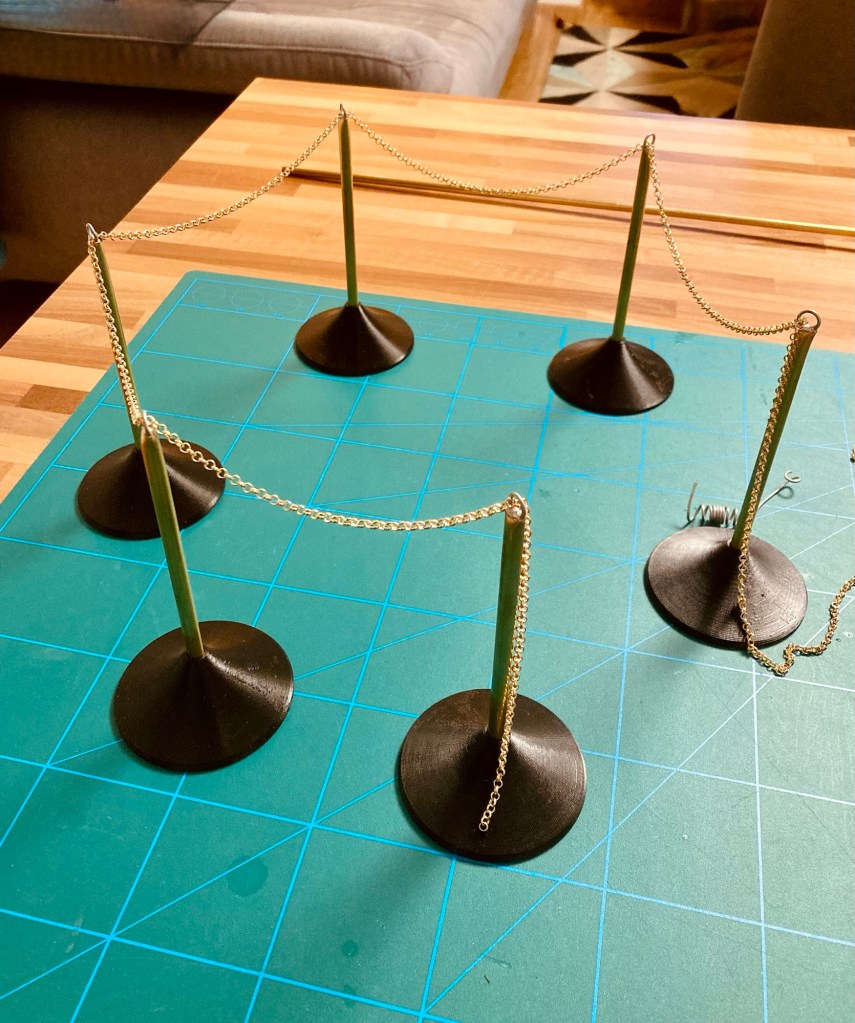
A problem presented itself soon after the office introduction. There are people who have no care for personal space or sense for delicate objects. Too many times, someone fiddled with the small door or left fingerprints on the glass. Whilst I appreciated the interest and curiosity, the constant touching made me nervous. I had an idea to counter it in a witty way. You know those red velvet rope barriers in museums or fancy events to keep people from going where they shouldn’t be going? That’s what I wanted for the terrarium. The red rope I used, sadly didn’t behave as expected. Of course it does not have the same mass as its bigger counterparts but that was hard to judge from the tiny picture online. Not to worry, I found a nice alternative in brass chain.

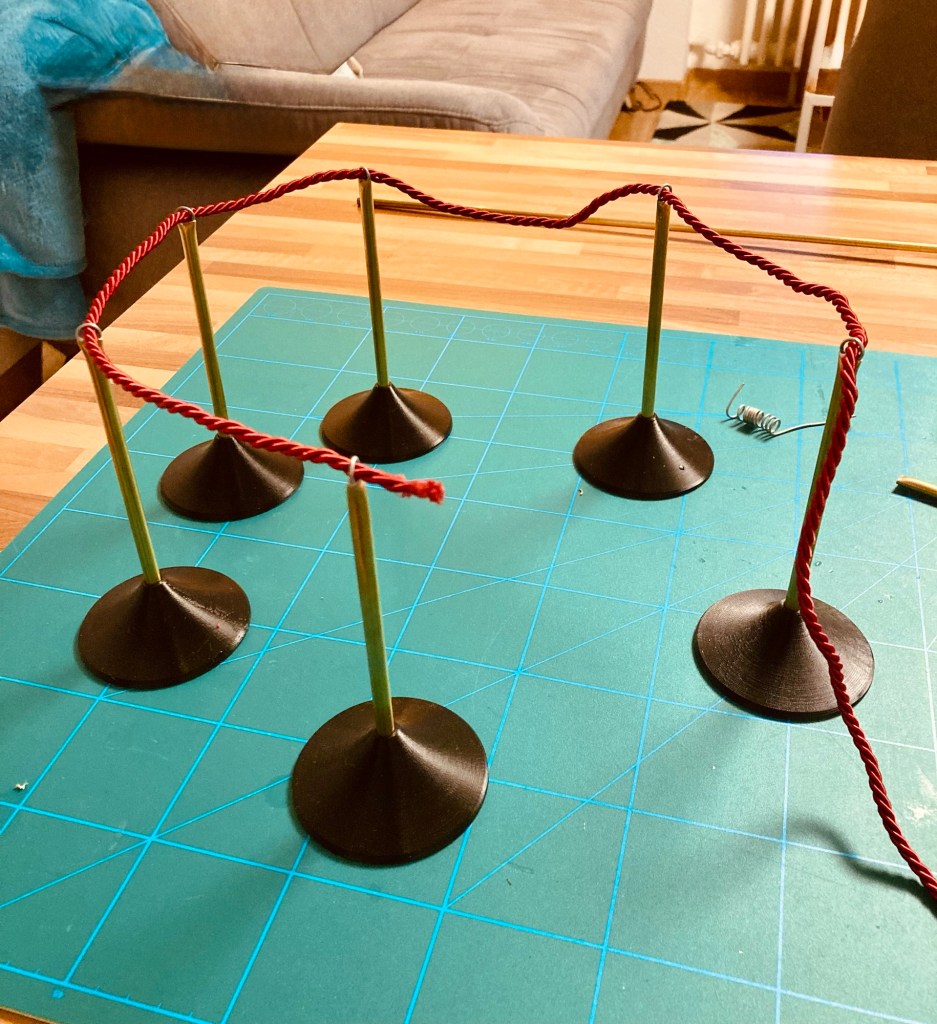
Even this fancy and tongue-in-cheek approach of saying „Don’t touch this“ went over the head of many. Barking at them was way more effective, haha.
Turns out the next step for this terrarium isn’t more plants… it’s metallurgy. Because clearly the safest way to finish a plant project is to involve molten lead and tin. Yes–molten metal, fumes, and a healthy dose of “what could possibly go wrong?”–coming up next. And more. In Part 2.
Resources
Have you tried something similar? Got tips or questions? Feel free to leave a comment below.

Leave a reply to I Blame Jewel Orchids – Part 2 – Into the blue Cancel reply