National Parks Inspired Me, My CNC Did the Rest
For a while I had been looking to find suitable notebooks for my everyday use. The reason for this was my discovery of the Bullet Journal method which I quite liked. I wanted to do my journaling in small, thin and affordable notebooks. They needed to be small so I would carry them everywhere I go and not have to decide whether it‘s worth shlepping it around or not. They needed to be thin because I wanted to have a frequent rotation and to not lose too much content in case I lost it. And they needed to be affordable for obvious reasons, I cannot have expensive notebooks on short rotation.
I started putting stickers on the front cover to tell front from back. I grew quite fond of the individualized notebooks over the duration of 2-3 months, the time a single notebook would last. This rotation became an exercise in letting go but it also gave me the excitement of a fresh notebook and sticker.
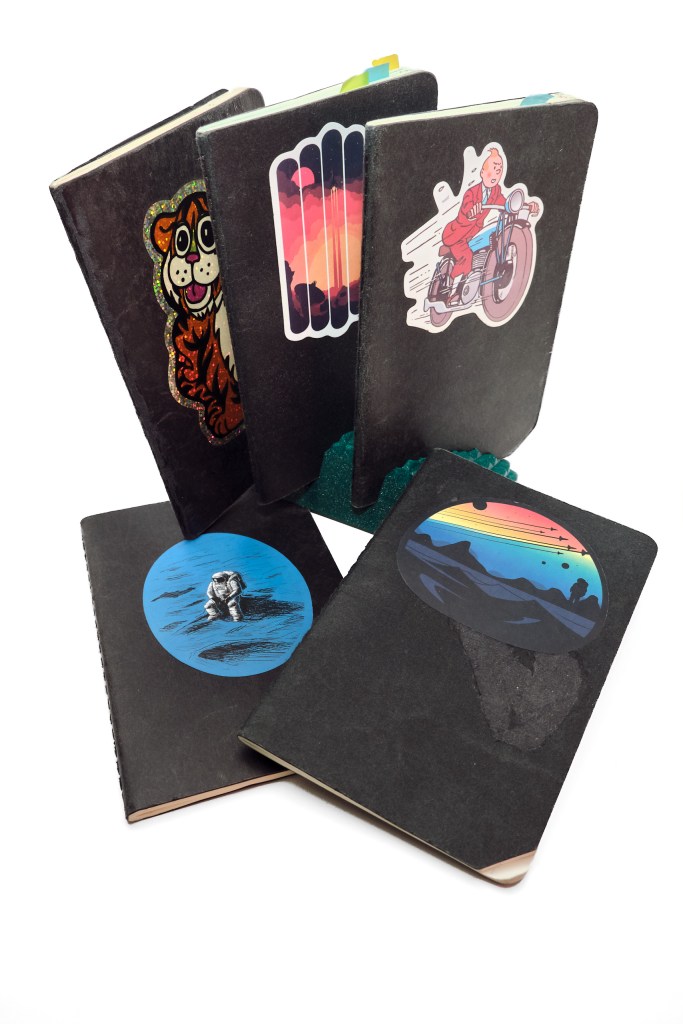
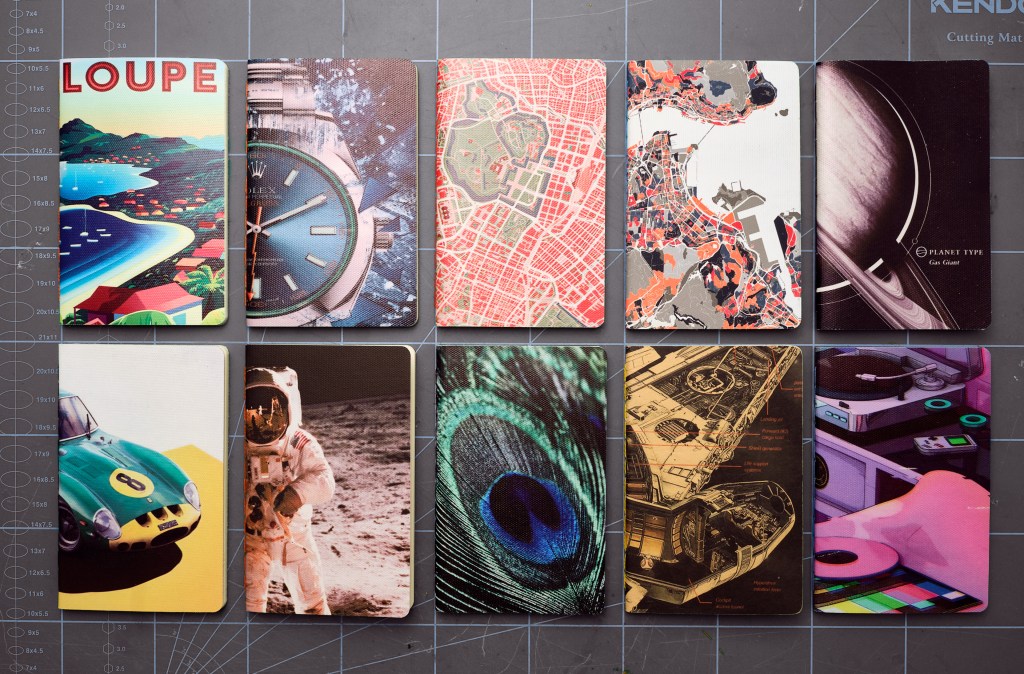
After a while, the black, single-sticker notebooks got a bit boring, I went searching and discovered Field Notes. Wow, a new world opened up! So many cool designs to choose from! I fell instantly in love with the National Parks series. They come in packs of 3 and choosing them was a serious task. „Hey, I like these 3. But I also like the one out of the other pack. Hm, why not get 2 packs? Or 3 just for good measure? You know what, I use my bullet journal every day, so I should get something nice. Why not buy ALL of them?“ I was juuust about to do that when I took a step back and asked myself if I really wanted to spend 85$ on notebooks? Normally I would, but then the idea hit of just making them myself. Of course! That‘s my whole thing. It cannot be that hard, right? Not only will it be cheaper (haha, let‘s ignore the cost of my own time here) but I get to design it exactly the way I want. How wonderful!
Goal
The goal for this project was to make my own version of the Moleskine / Field Notes notebooks. Specifically,
- Include my own individual design and be very specific about front cover designs, backing color, paper color and number of pages
- Keep the same dimensions as the Moleskine / Field Notes notebooks (funny enough they are the same size), 9×14 cm / 3.5×5.5“
Materials & Tools
Material for the notebooks
- Paper stock for the pages and cover backing from the stationery store
- Thread in different colors
- Posters for the covers. Canvas posters worked well as did heavier paper posters
- Glue to bond poster and backing paper
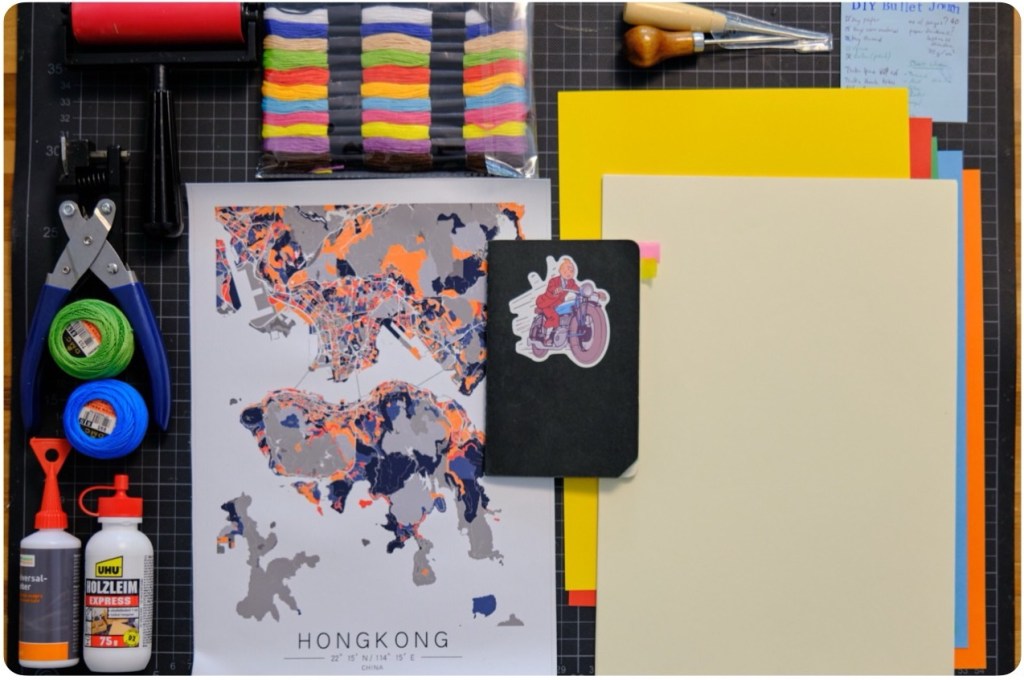
Tools
- Awl to puncture the paper stack in preparation for sewing
- Cutting mat (yes, I punctured my table a bit before having it:)
- Hobby knife
- Sewing needle for sewing the pages together
- Corner punches or a CNC machine:) A handheld router with template guides would work too
Process
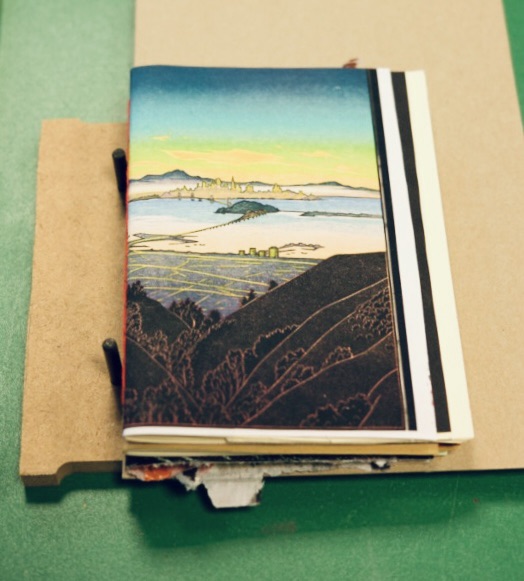
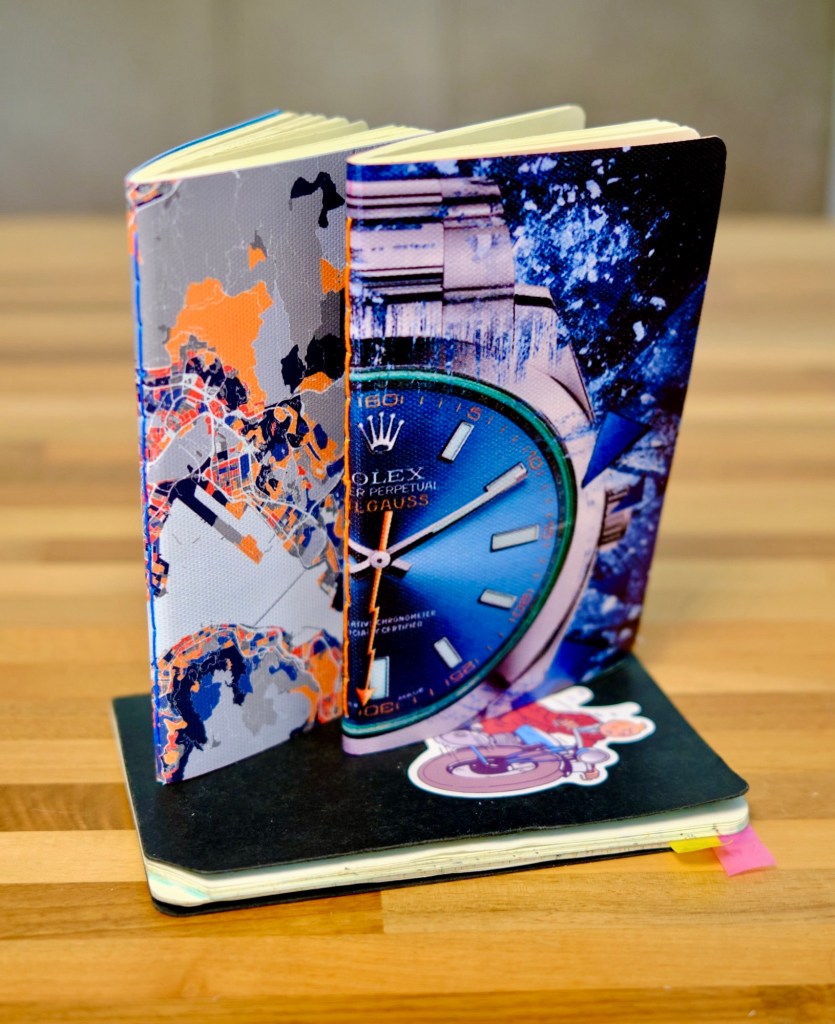
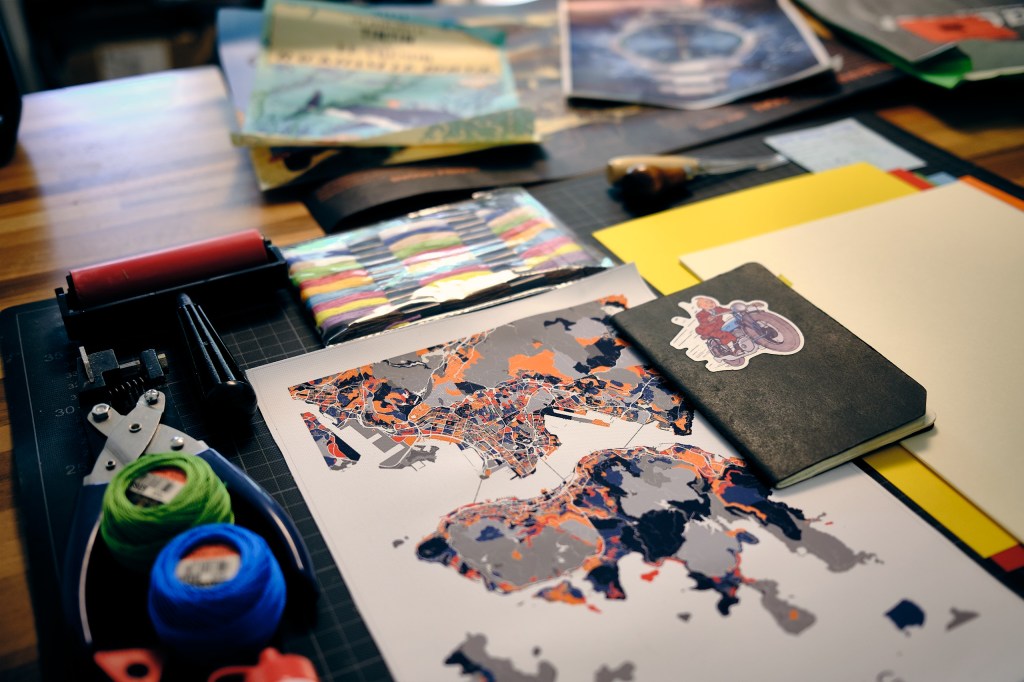
I start with the decisions about the cover. Which cover and part thereof do I want to have on the notebook? What color of backing paper goes with which front cover design?
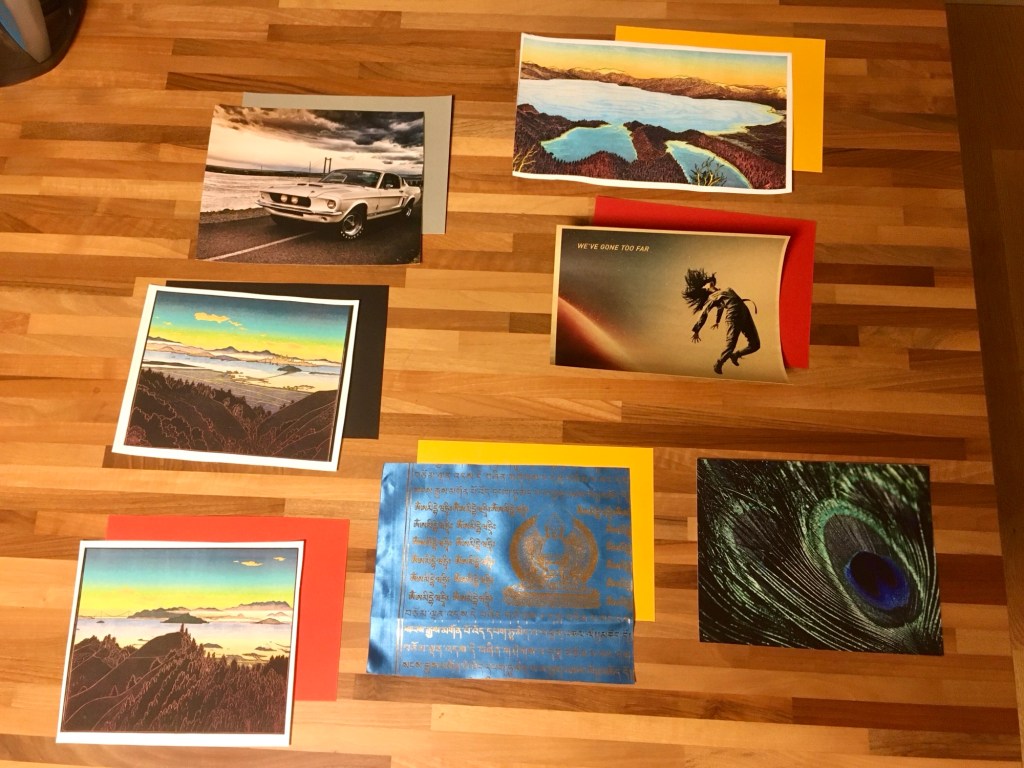
Sometimes it’s an obvious choice, sometimes it’s between many options. In the case below I had to think for a while to see what fits best.

The posters are glued to the backing paper with wood glue. It must be spread thin over the entire surface to get good adhesion throughout and prevent bubbles. I put it between two sheets of newspaper to soak up the excess when it goes in the book press. A book press? Yes, and here is where we go on a side quest:) If you want, you can read up on that here.
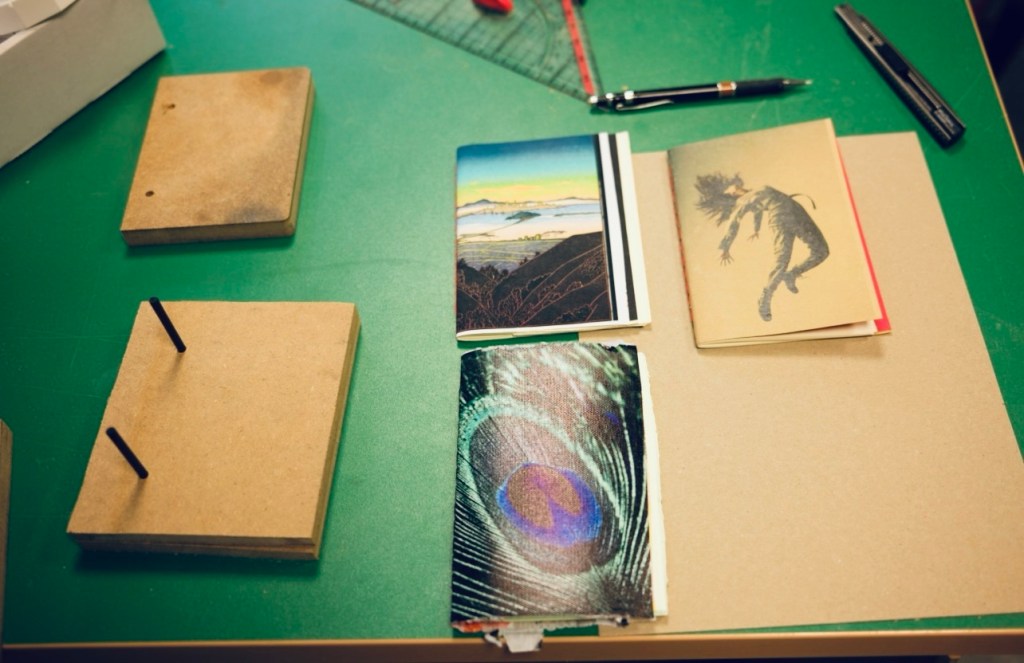
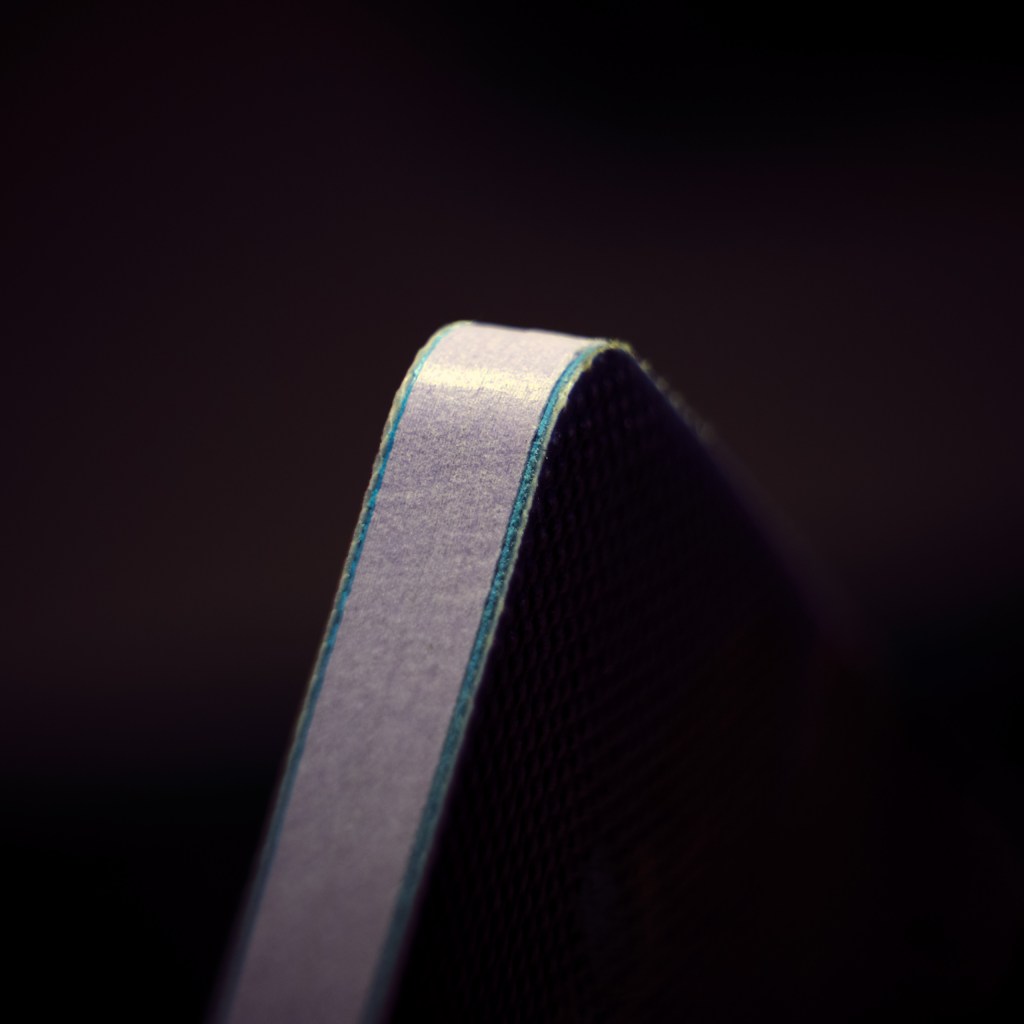
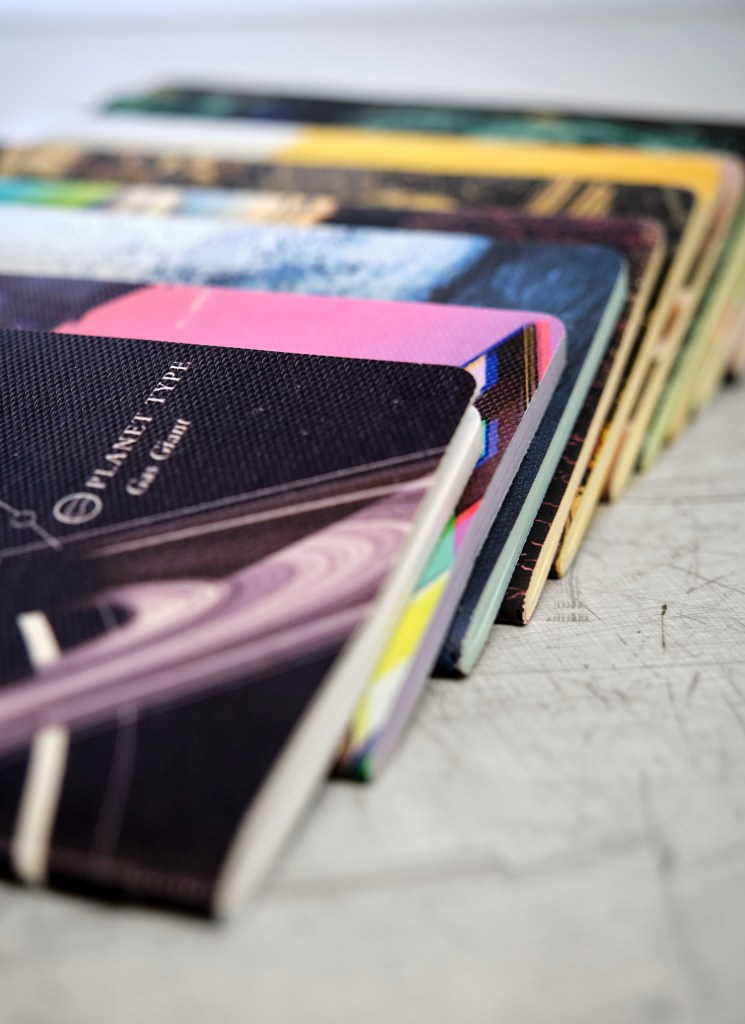
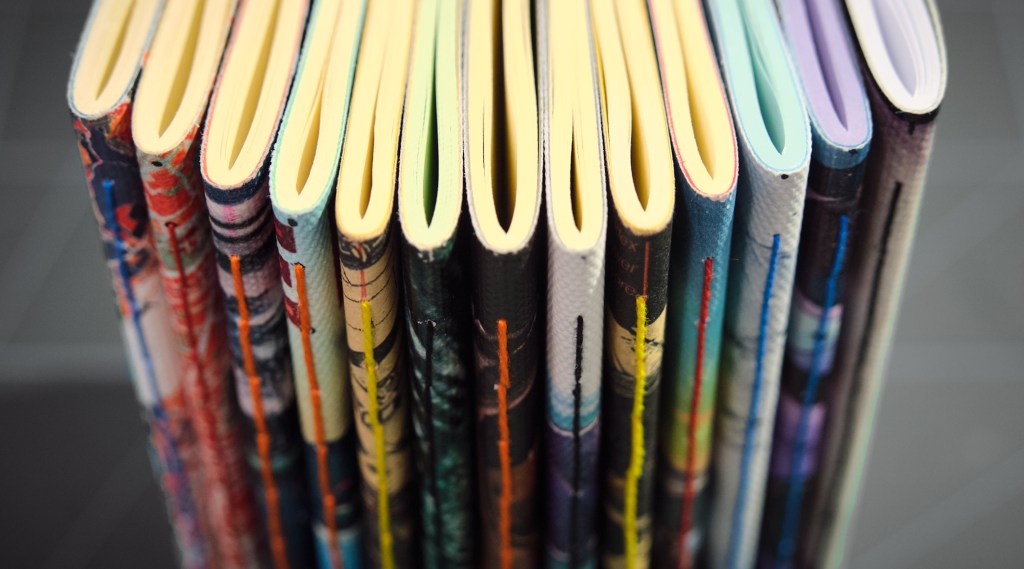
Next come the pages. How many pages do I want? What color? I stack the pages and the cover, mark the centerline and punch holes with the awl where the thread will go. I pick a thread color that matches with the cover design and stitch everything up. Starting from the center of the inside, I work my way up, then down to finish one hole next to where I started. For this to work there must be an odd number of holes. That way, tying a knot is easy. Then I fold the notebook along the seam and put it in a book press to make the crease permanent and the pages flat.
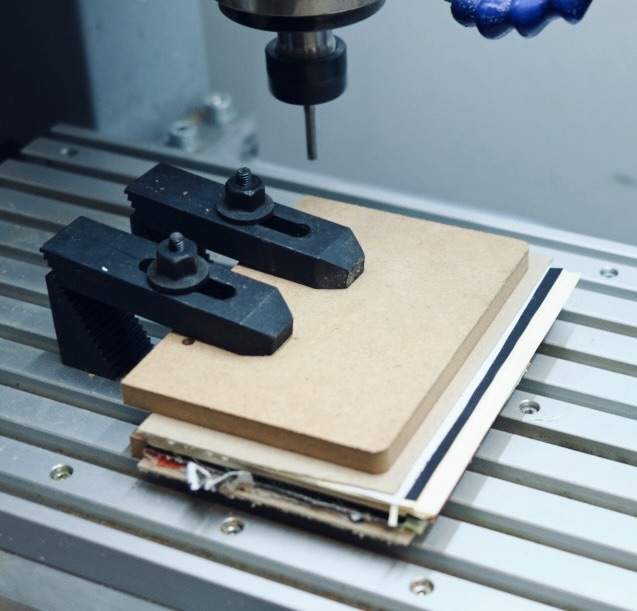
Here comes the part where I had to experiment the most. At this point the notebook is oversize, the center pages extend beyond the outer pages because of the folding and so it needs trimming. The first time I tried with a steel ruler and a fresh blade on the hobby knife. The result was not ideal though because it is really tricky to get a clean cut through all pages. Then there are also the rounded corners to take care of. For this I bought a corner punch but realized quickly I had the same problem as with the knife. The result was that only a few pages aligned at a time, and never the full stack. Ugh. To solve all of this I remembered I have a CNC mill laying around and even though it seemed like overkill, it turned out to be the very best choice.
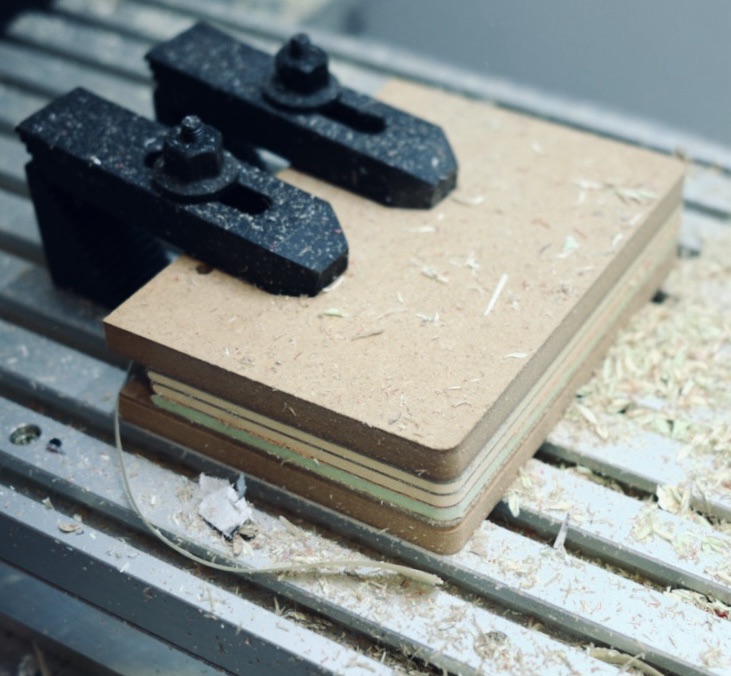
I made a cutting jig for the CNC to serve two purposes. One, it would keep the spine of the Notebook in the same horizontal position and aligned. Two, together with the top part of the jig it would compress all pages to make the cutting process even feasible.
Challenges & Learnings
Maybe what made this project so pleasant was the absence of major difficulties. I say major – minor things happened here and there but they were just in the right amount and just at the right difficulty to keep the whole thing exciting.
A great lesson was to find out how incredibly well the single flute end mill worked on paper. I expected the thing to rip out half of my pages when it engaged the material, but none of that. Good cutting parameters were a bit trial and error in the beginning (on waste paper) but easy enough to find. Another lesson learned was in connection with canvas front covers. Initially the setup consisted only of the notebook and the top and bottom jig. This left a lot of the canvas fibers exposed at the edges, the cutter was just not able to slice them off. I burnt them off with a lighter but wanted to find a better way. The solution was to add oversize cardboard stock between top/bottom jig and the notebook. These sacrificial layers of cardboard helped compress the canvas fibers for the cutter to slice through. A bit like when you drill through two pieces of wood where the top piece will show a clean exit hole and the bottom one will fray.
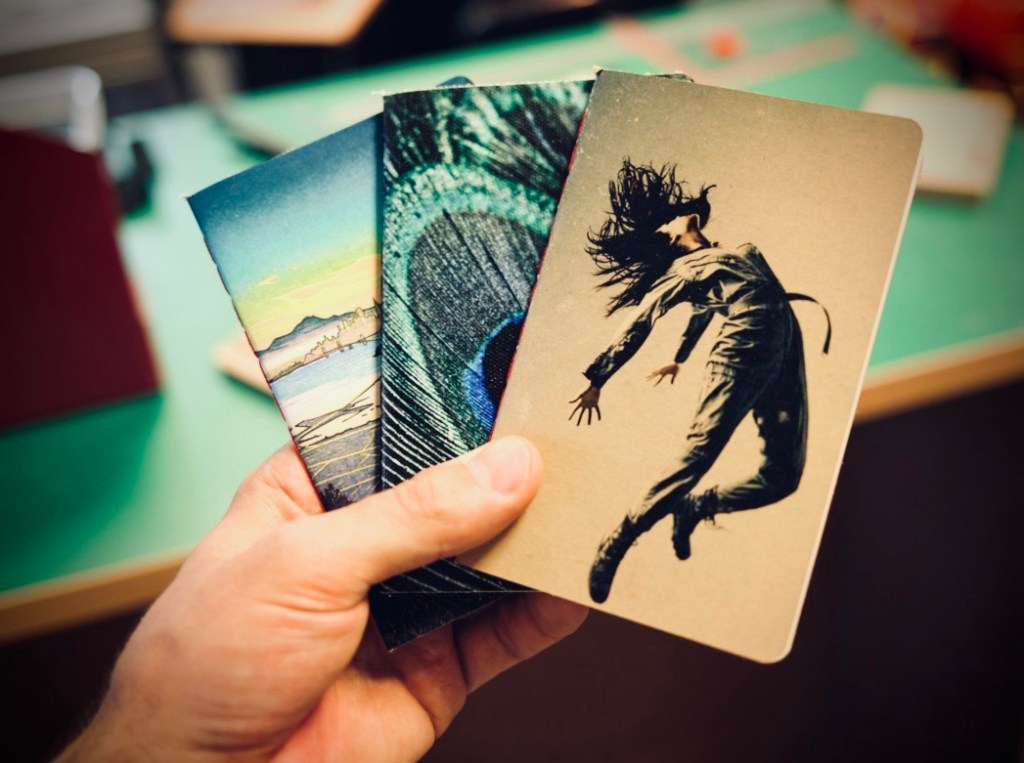
Results
Reflections
This project turned into the discovery of a deeply satisfying process, with self-made treasures as the result. Every notebook I made felt uniquely personal. I’m fascinated by how easily I could create something so valuable to me — and all from materials that are affordable and readily available.
Making notebooks with some snacks on the side, notifications turned off, and a podcast playing — that’s an evening spent in bliss. It’s deeply relaxing and leaves me with a quiet sense of accomplishment.
Resources
Have you tried something similar? Got tips or questions? Feel free to leave a comment below.

Leave a reply to I Blame Jewel Orchids – Part 2 – Into the blue Cancel reply